Blog
Mastering the Art of Roof Installation: A Comprehensive Guide
Roof installation is more than just laying shingles—it’s a precise process that combines craftsmanship, material knowledge, and safety expertise. Whether you’re a contractor refining your skills or a homeowner curious about what goes into a new roof, this guide walks you through the essentials of mastering roof installation from start to finish.
1. Planning & Preparation: The Foundation of Success
Every great roof begins with a solid plan. Before the first nail is driven:
Assess the structure: Ensure the roof deck is in good condition and able to support the new materials.
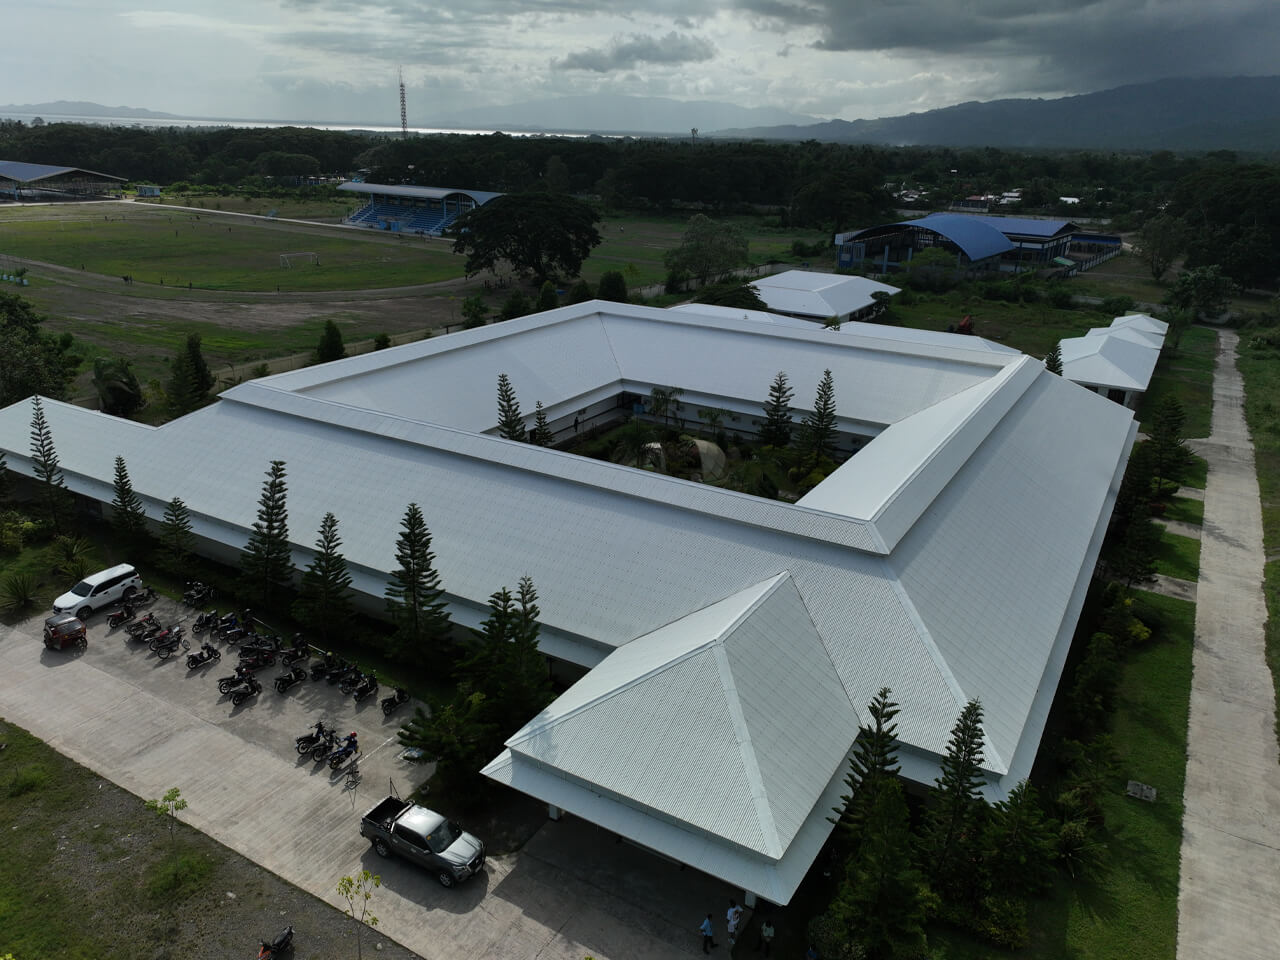
Choose the right materials: From asphalt shingles and metal panels to clay tiles or synthetic options, pick materials that suit the climate, budget, and aesthetic of the home.
Secure permits: Most municipalities require permits for roof replacement or major installation—check local codes before beginning.
2. Safety First, Always
Professional-grade roof installation requires strict attention to safety:
Use fall protection systems (harnesses, anchors, guardrails).
Ensure ladders are stabilized and set up on level ground.
Watch weather conditions—never install a roof in rain, snow, or high winds.
3. Step-by-Step Roof Installation Process
Here’s a general overview of how a roof is professionally installed:
Step 1: Tear-Off (If Replacing)
Remove the old roofing materials down to the sheathing. Inspect for rot or water damage and replace any compromised sections.
Step 2: Install Underlayment
A waterproof barrier (usually synthetic felt or peel-and-stick membrane) is applied over the roof deck to protect against moisture.
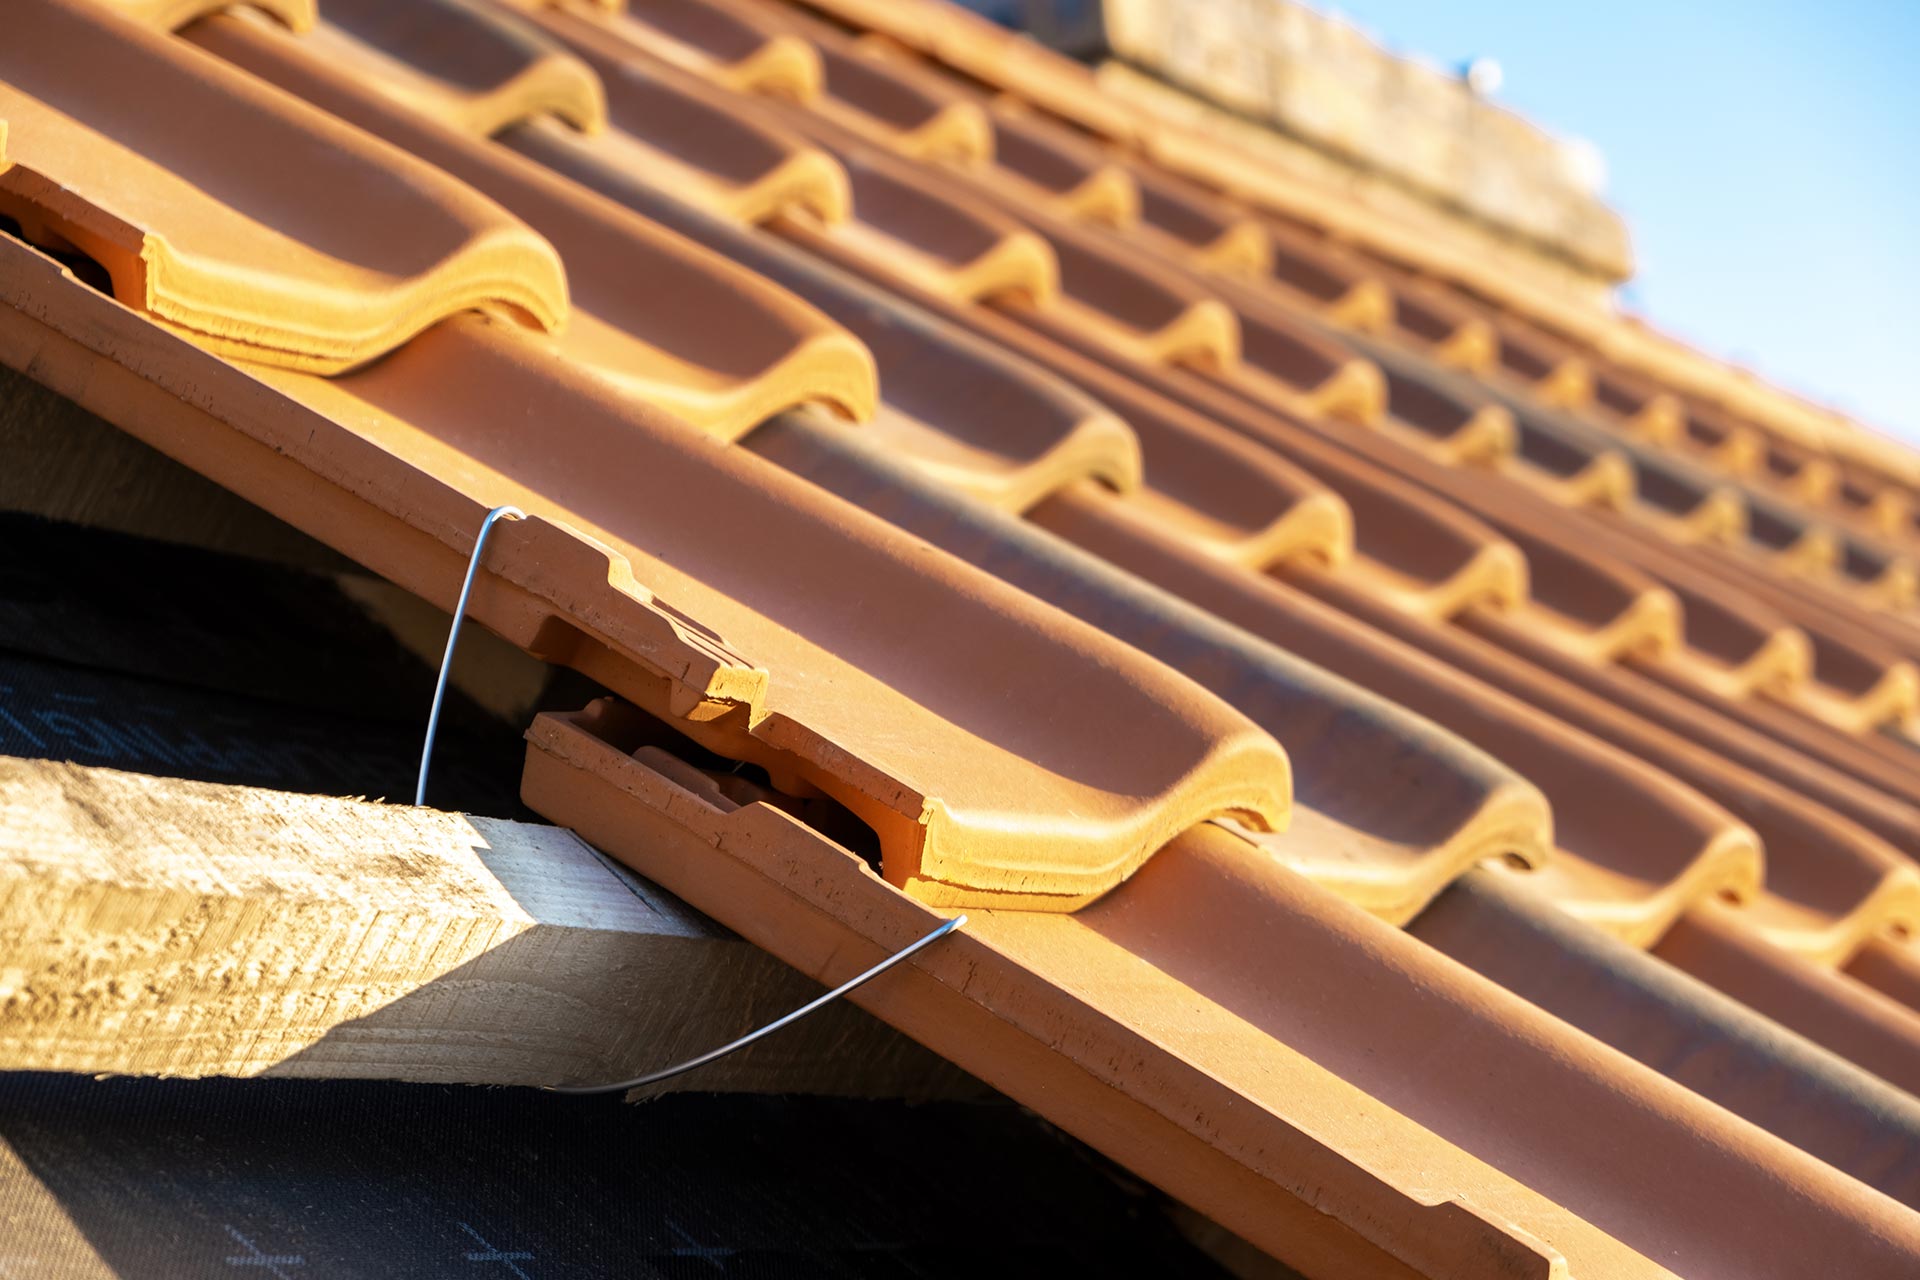
Step 3: Flashing Installation
Install metal flashing around chimneys, vents, valleys, and skylights to direct water away from vulnerable areas.
Step 4: Drip Edge & Starter Strip
Metal drip edges are added to the roof perimeter to prevent water intrusion, followed by a starter shingle row to anchor the rest.
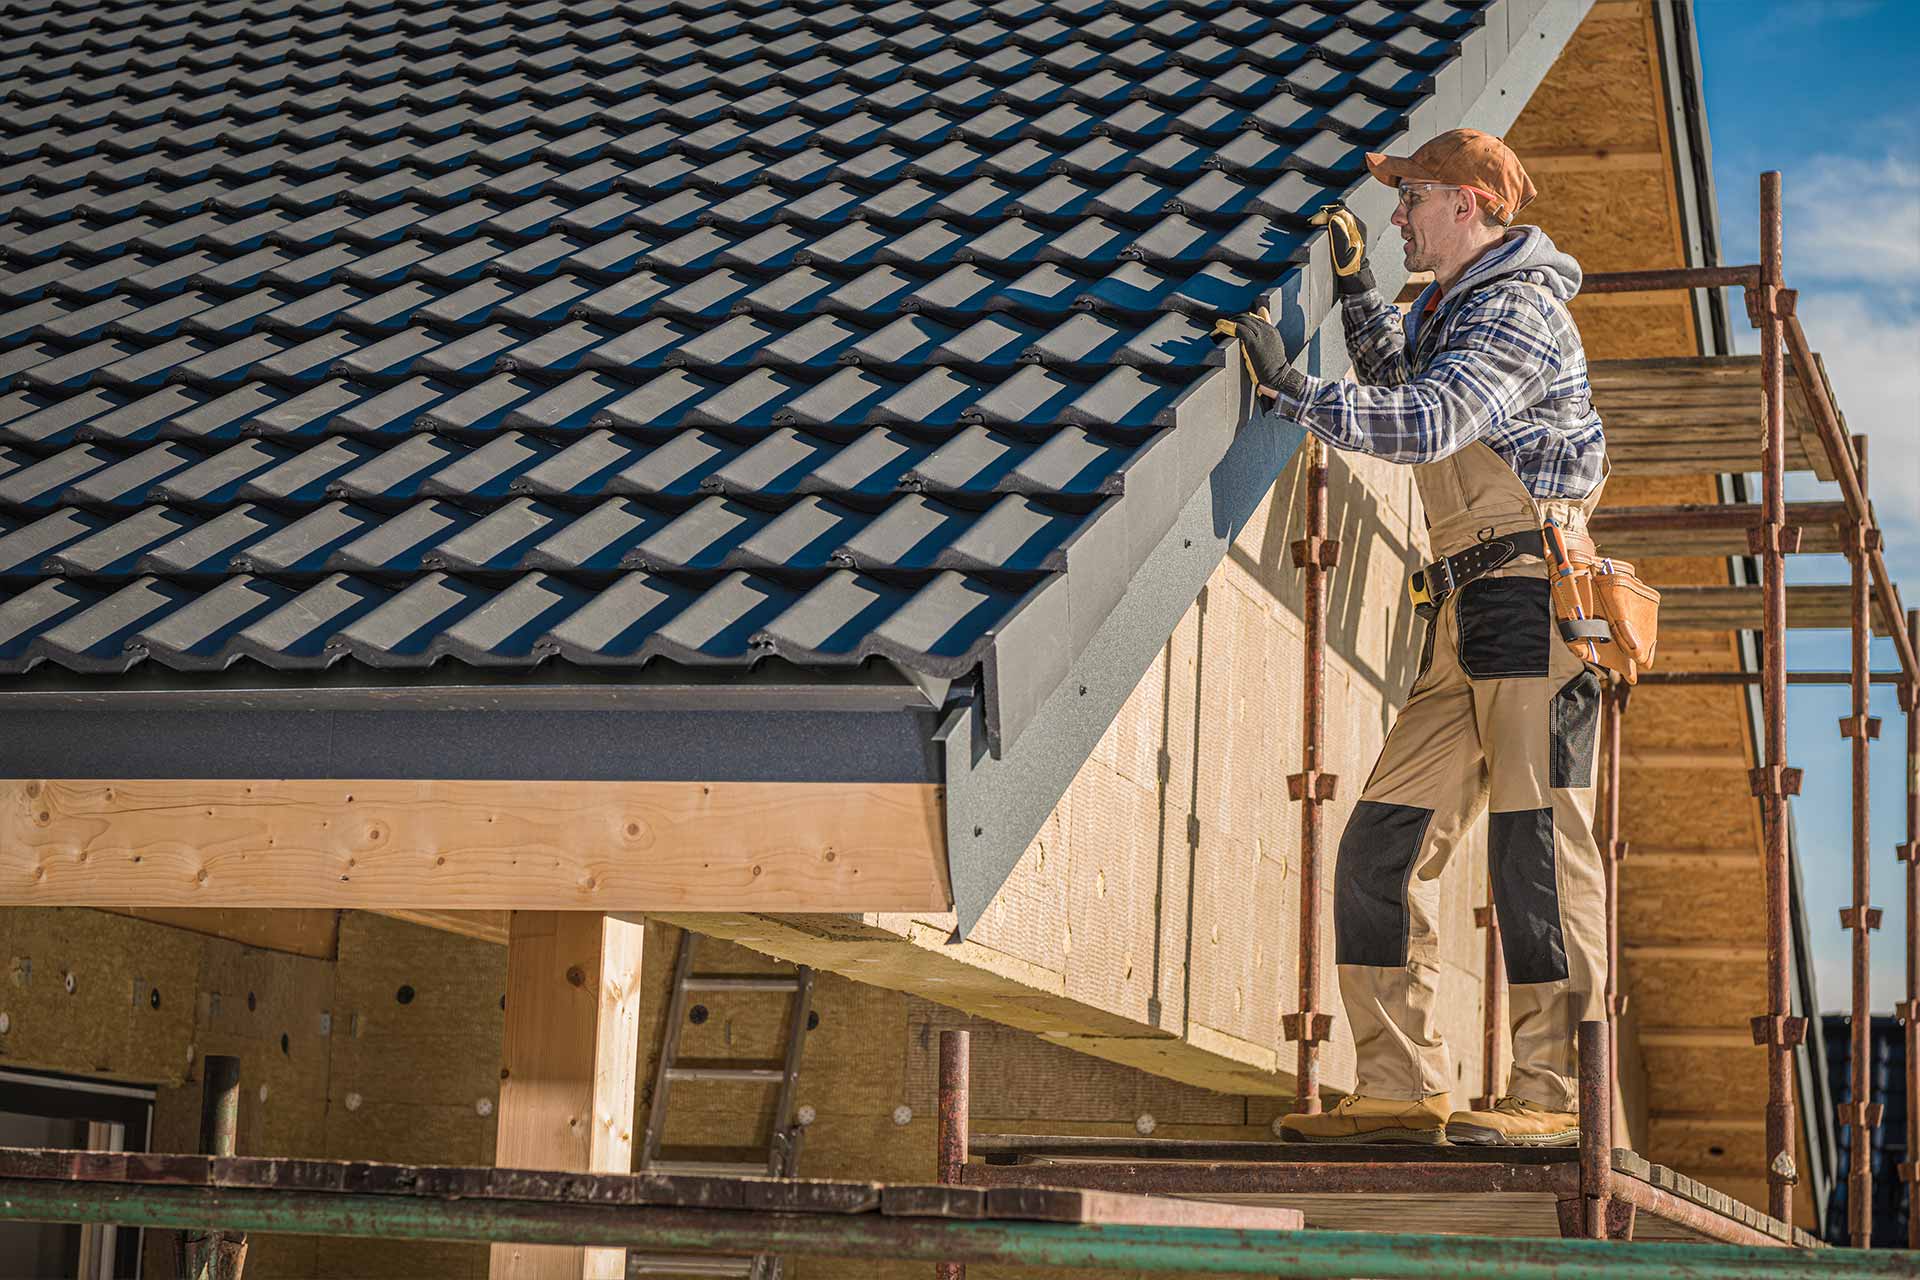
Step 5: Shingle or Material Installation
Shingles or other roofing materials are installed from bottom to top, ensuring proper alignment and overlap. Ventilation components and ridge caps are added last.
4. Proper Ventilation & Insulation
A well-ventilated roof extends the life of shingles, reduces energy costs, and prevents moisture buildup. Ensure ridge vents, soffit vents, or attic fans are properly installed and balanced with insulation below.
5. Final Inspection & Clean-Up
Once the roof is installed:
Inspect for exposed nails, loose shingles, or improper flashing.
Clean up all debris and leftover materials.
Confirm everything meets building codes and manufacturer warranty requirements.
6. Common Mistakes to Avoid
Poor ventilation leading to heat/moisture damage.
Nail placement errors that cause leaks.
Rushing the process and working in bad weather conditions.
Skipping the underlayment, which can void warranties and lead to early failure.